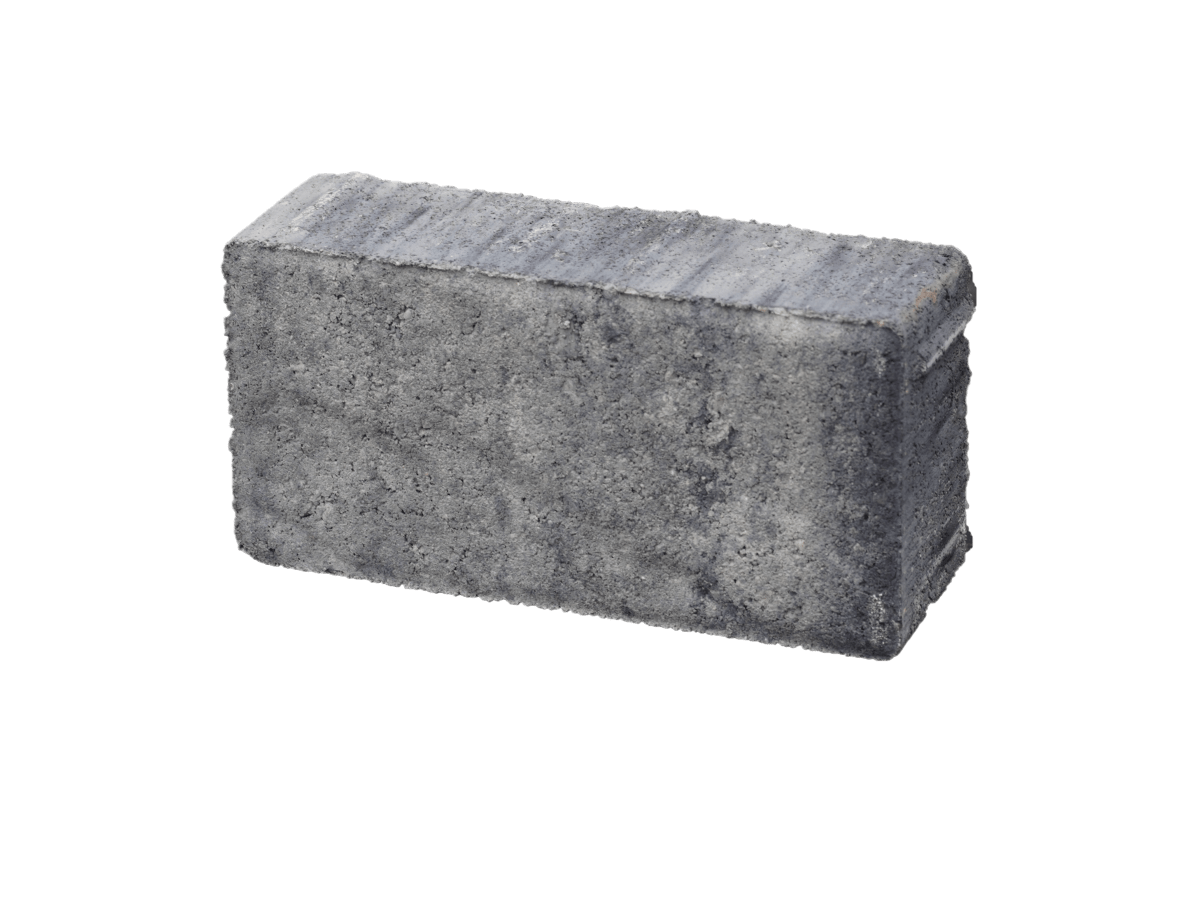
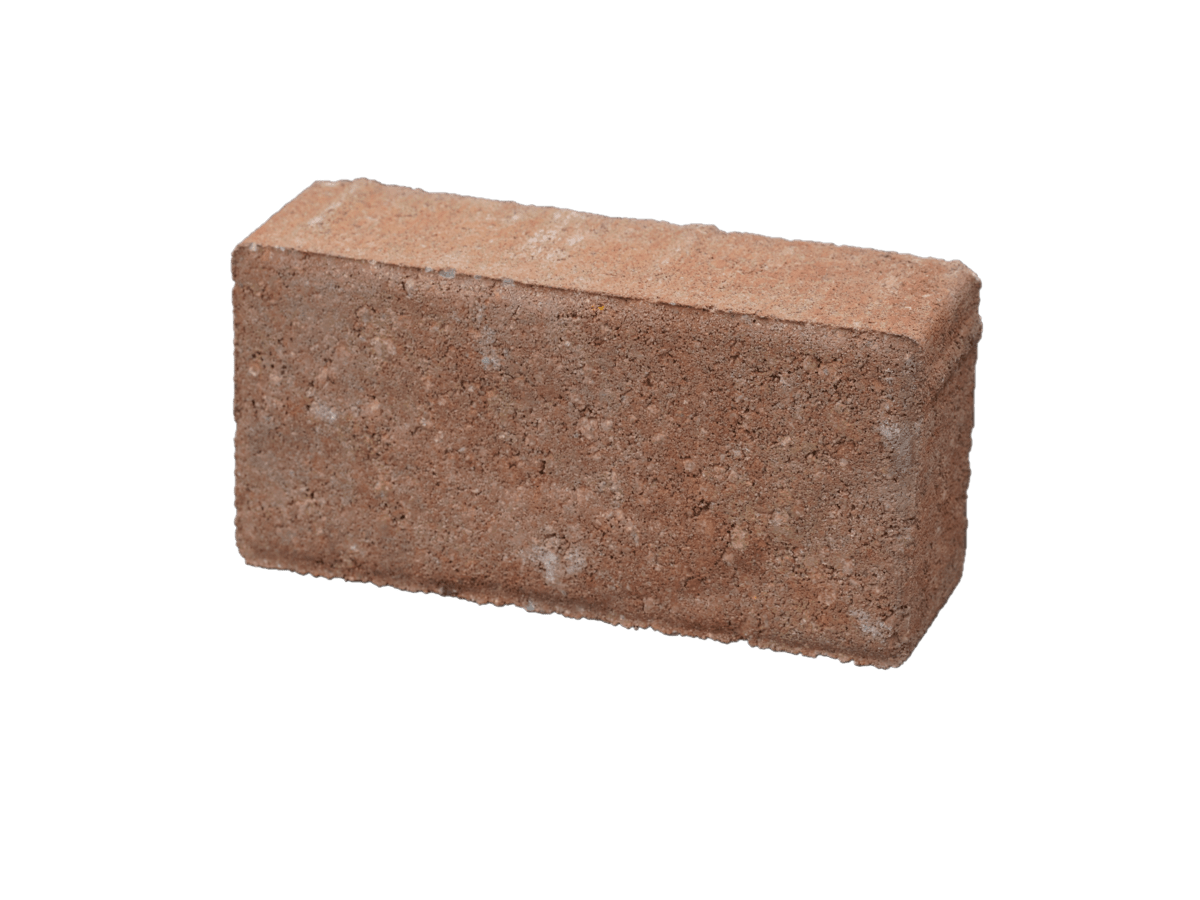
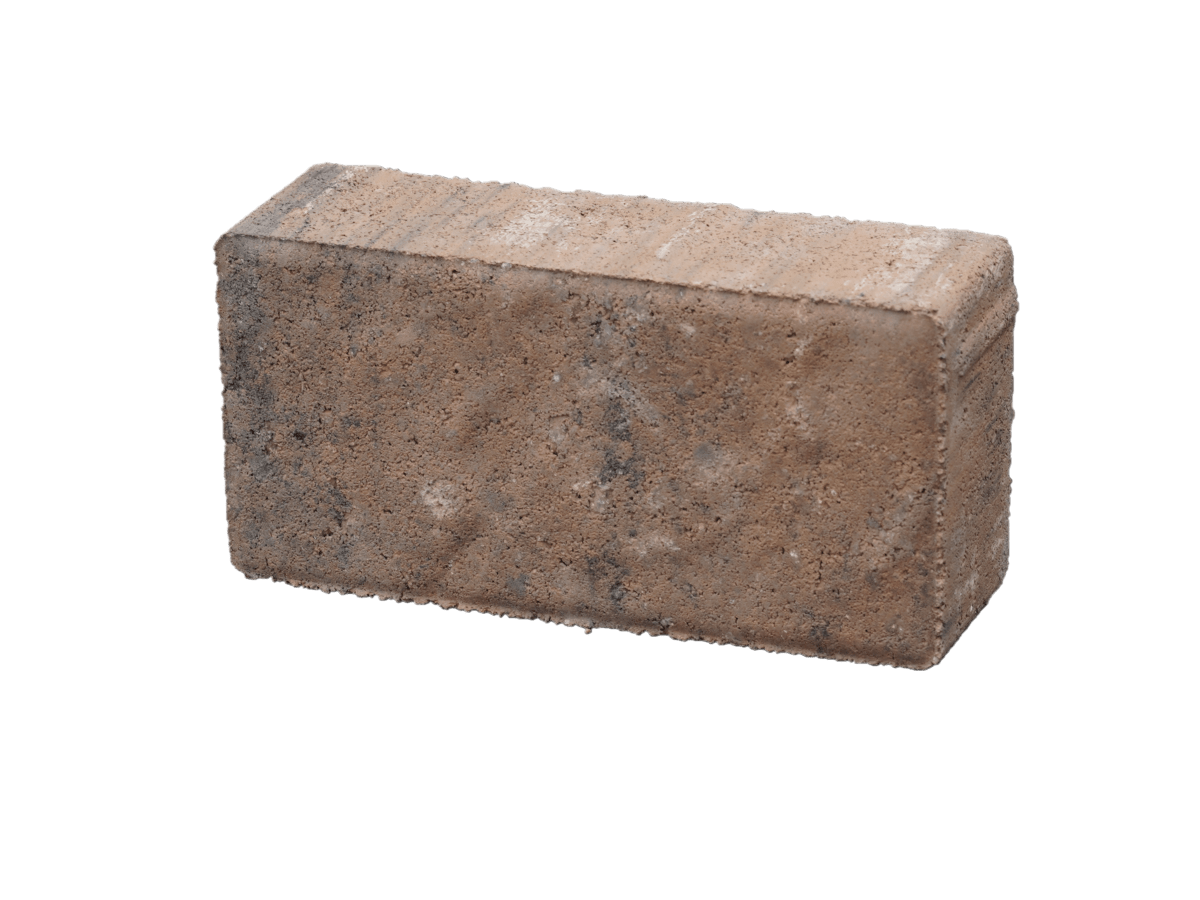
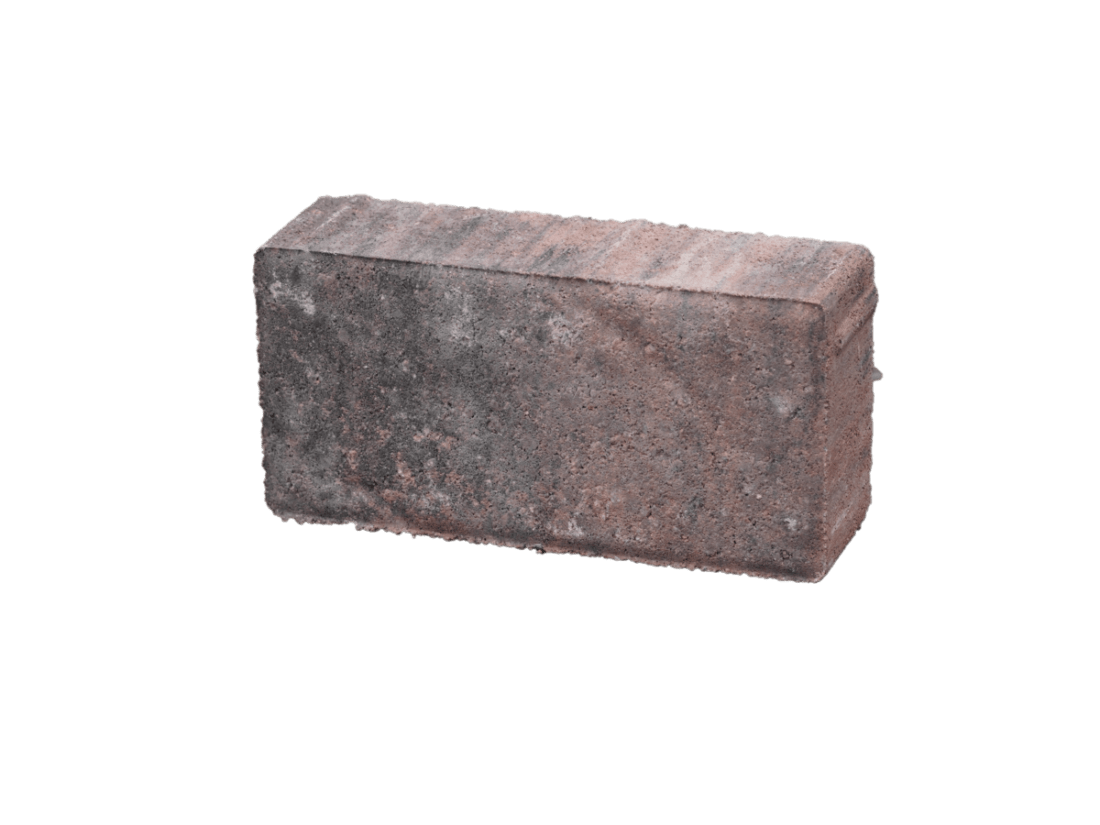
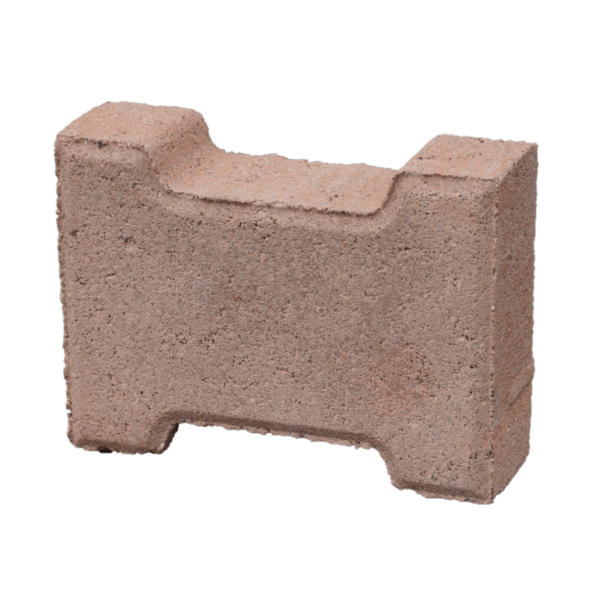
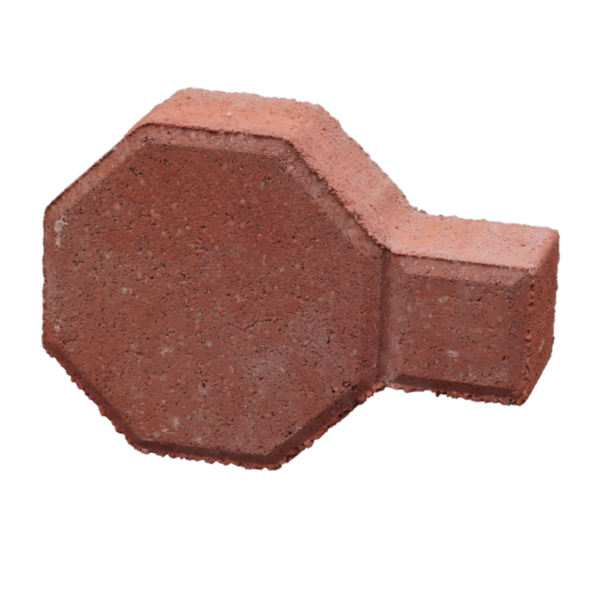
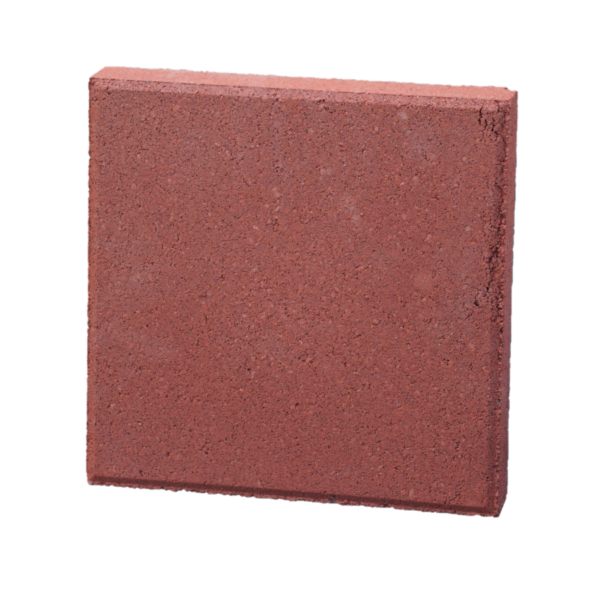
Holland Paver – Textured
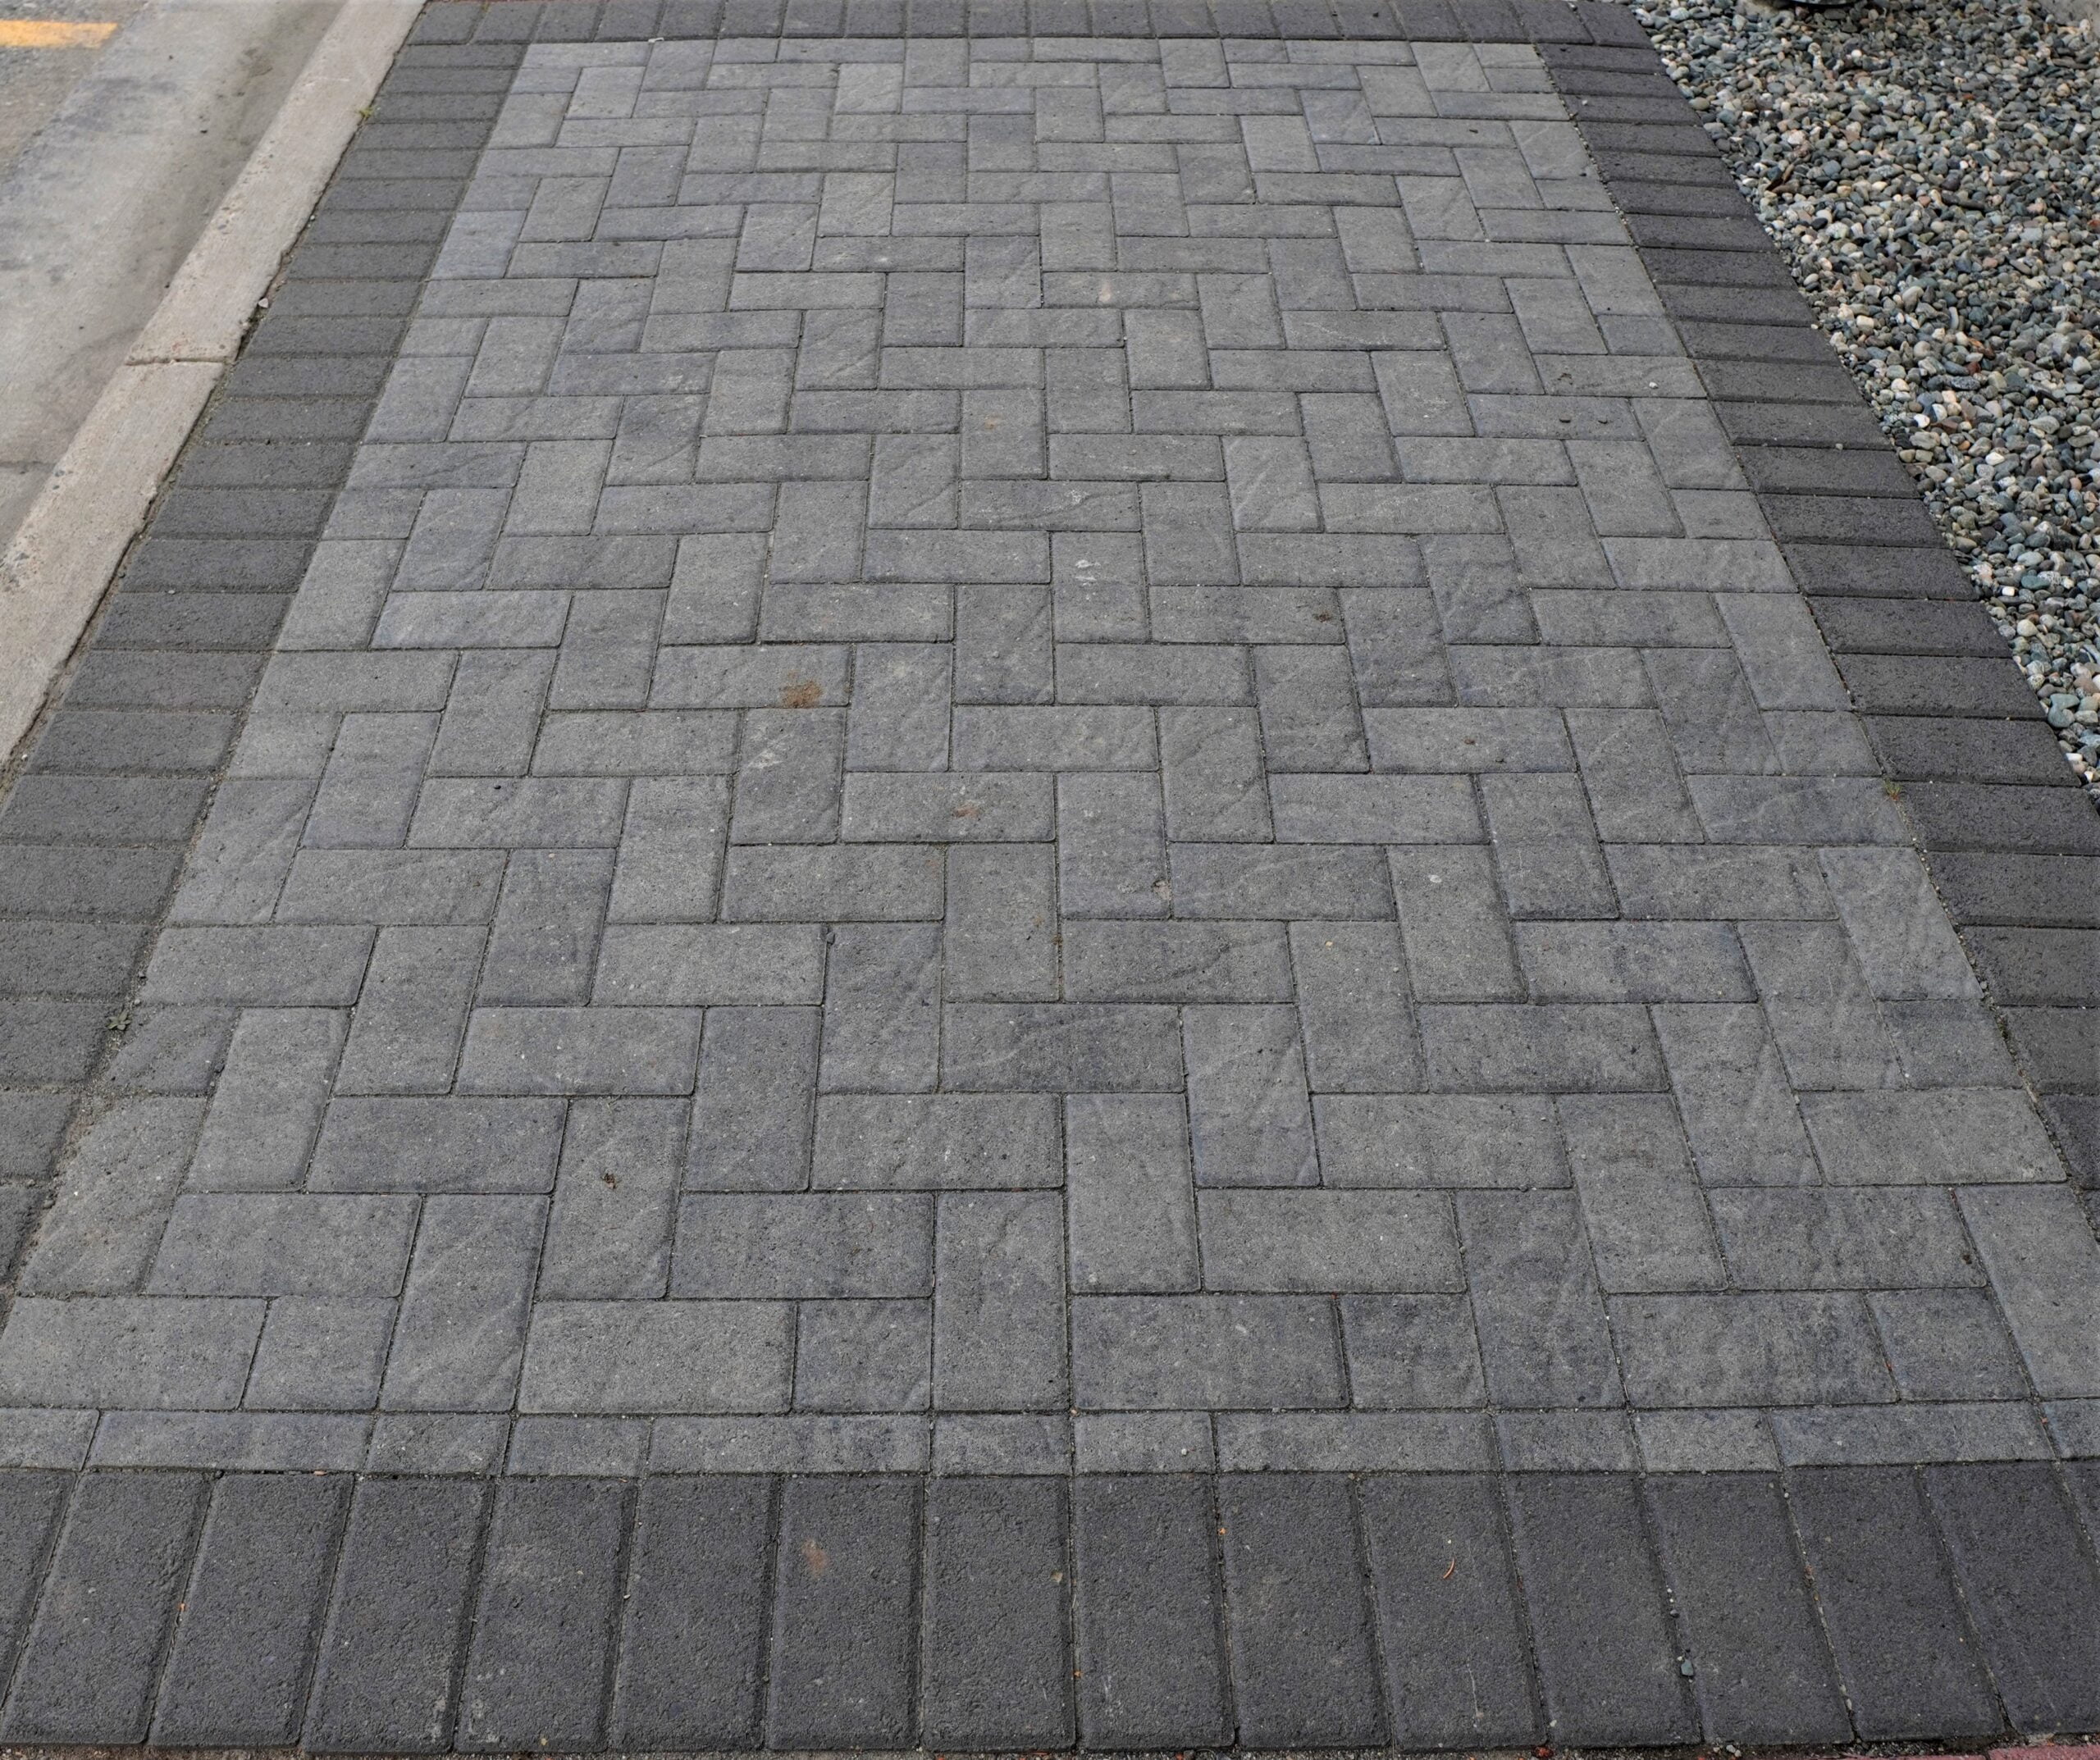
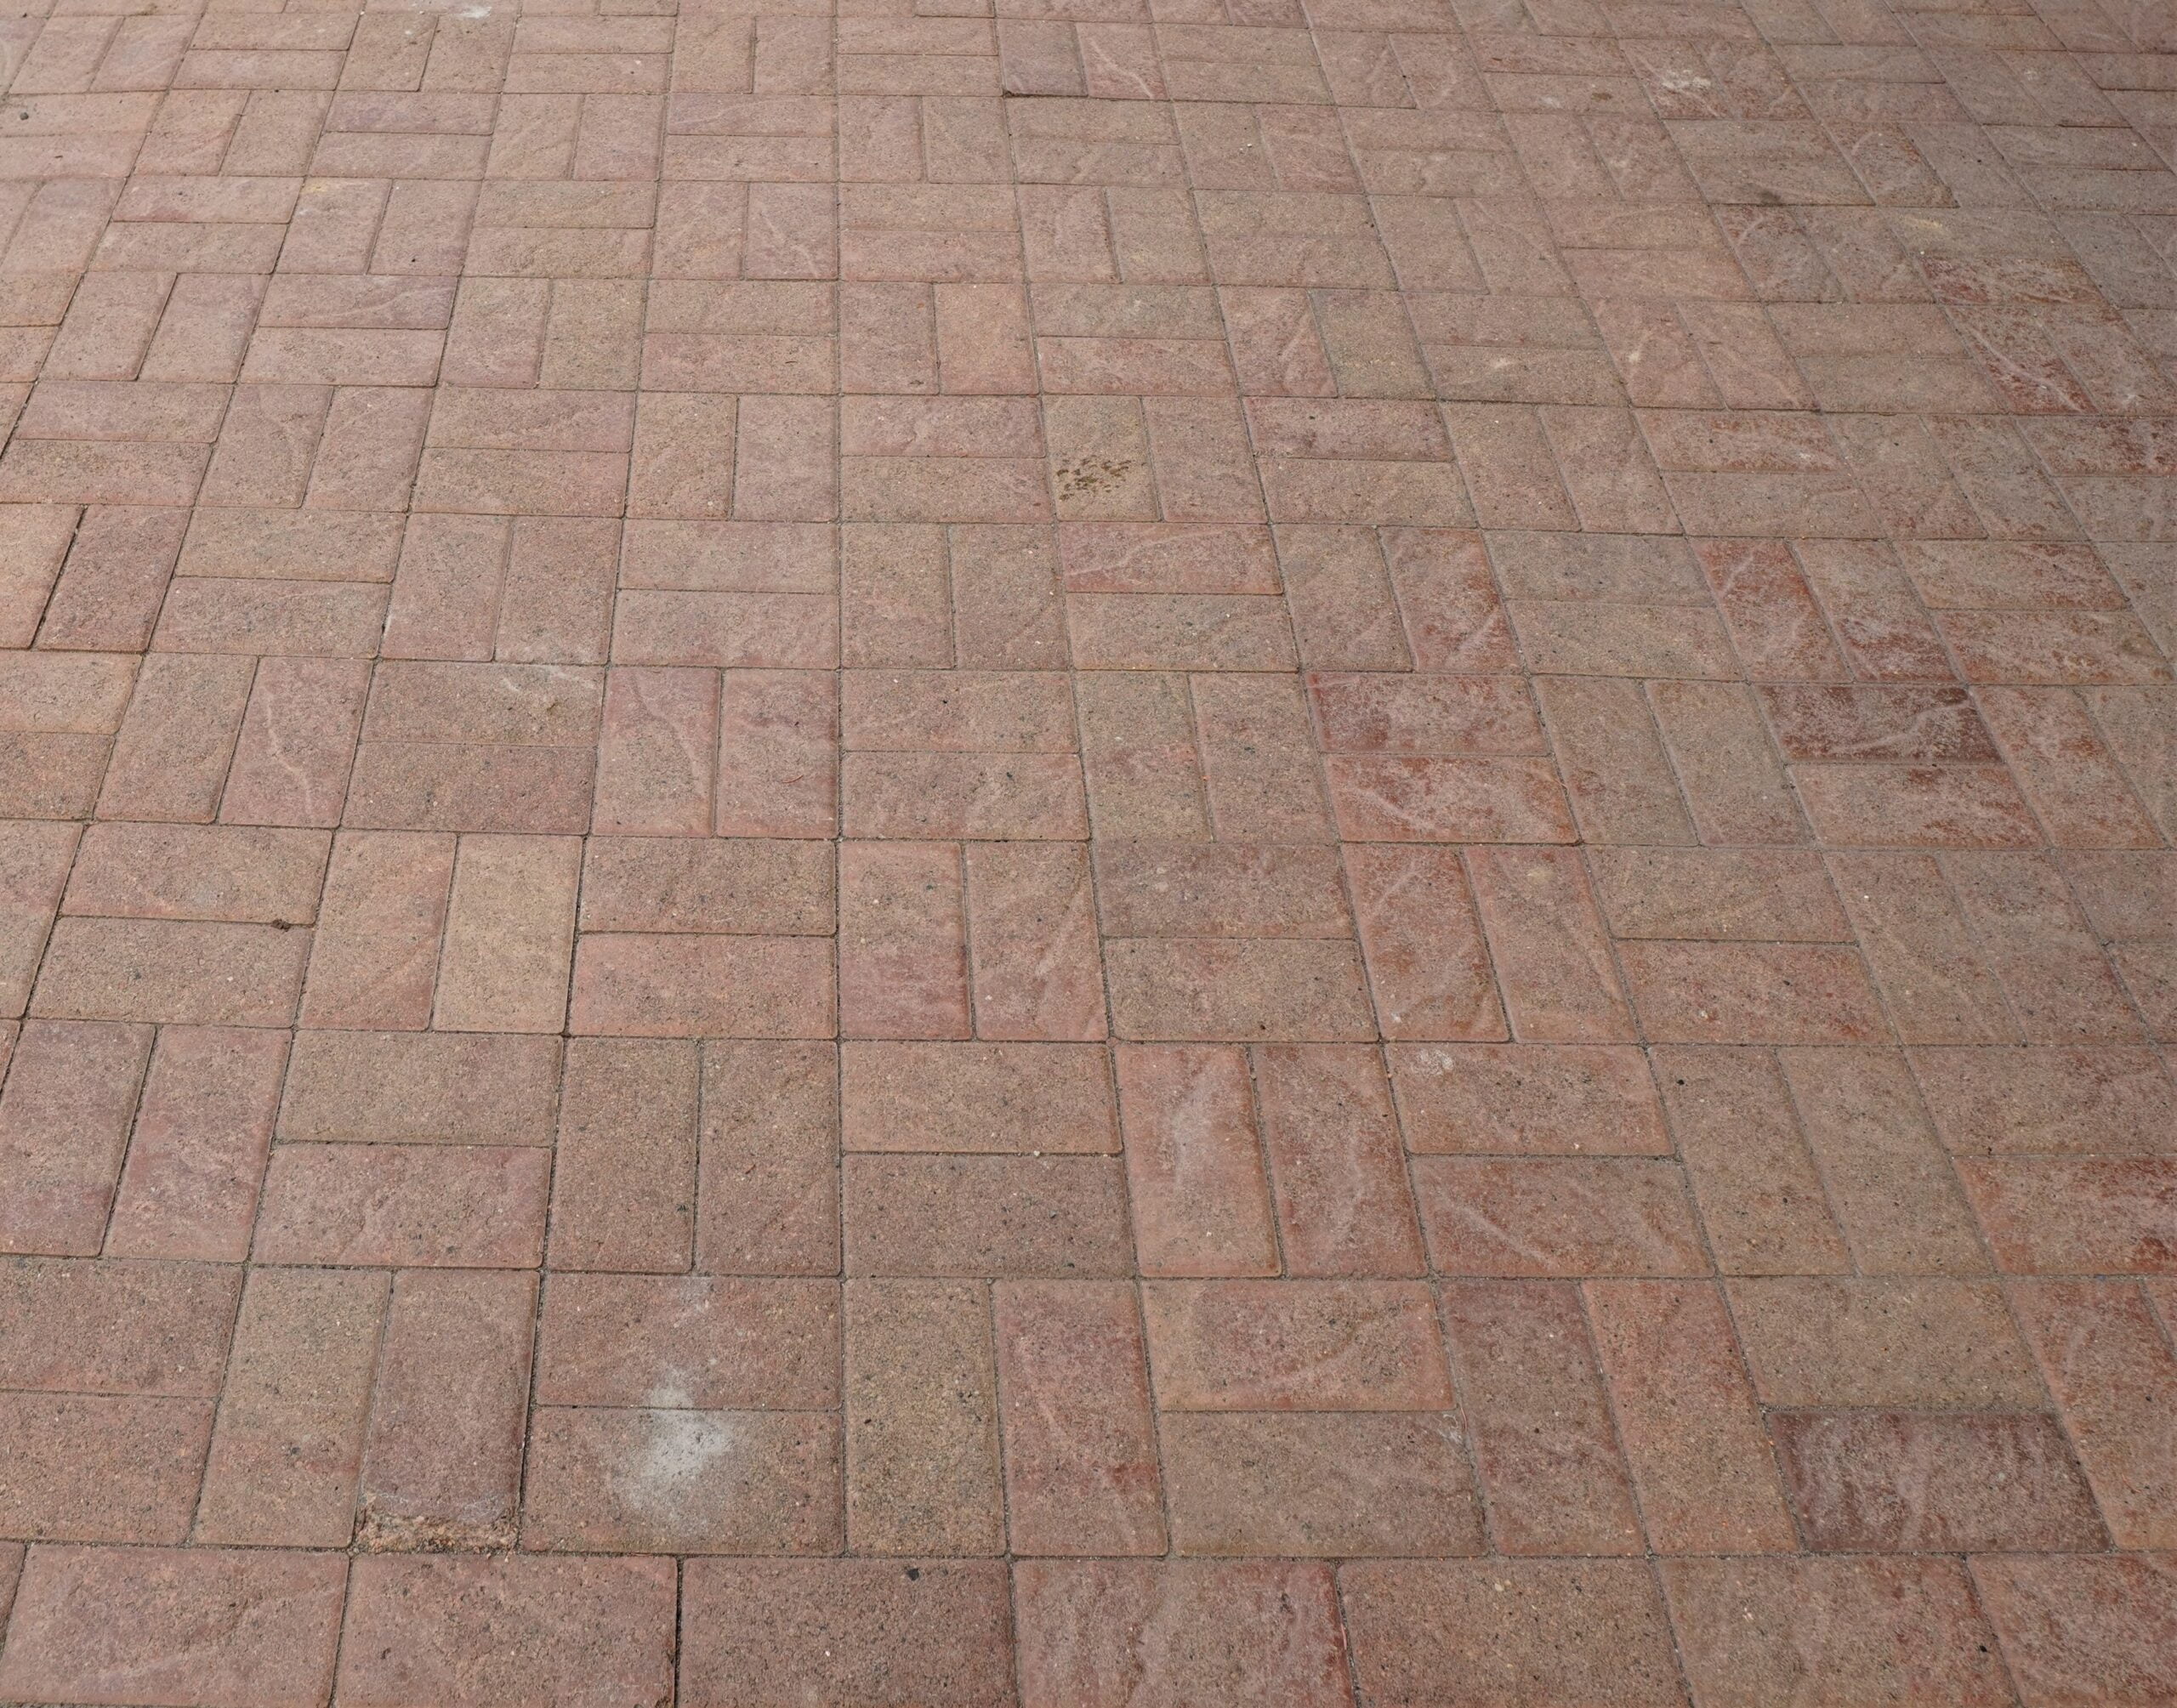
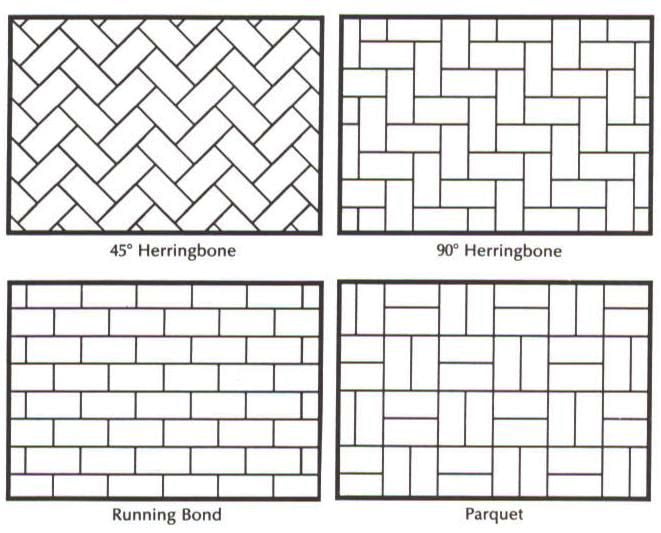
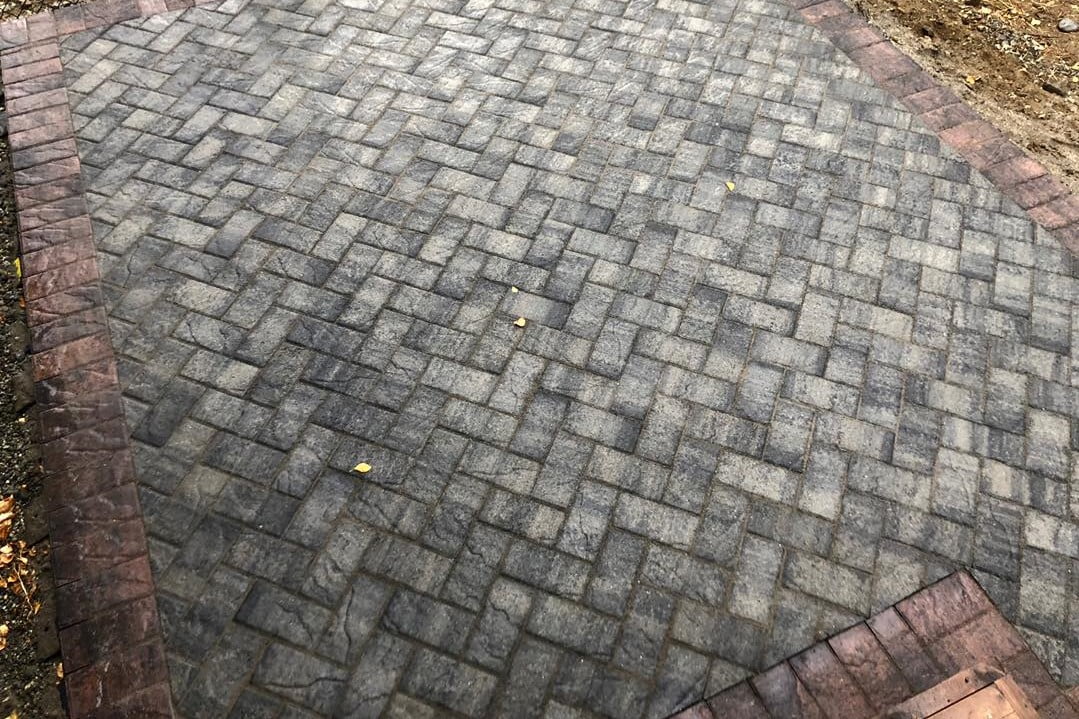
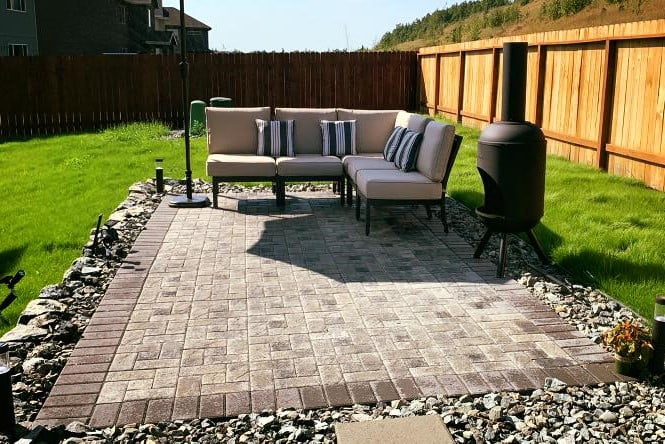
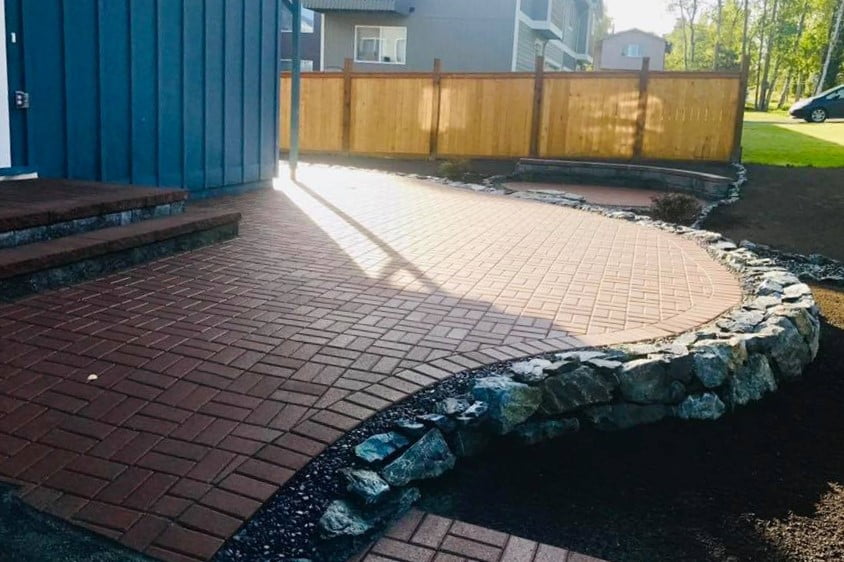
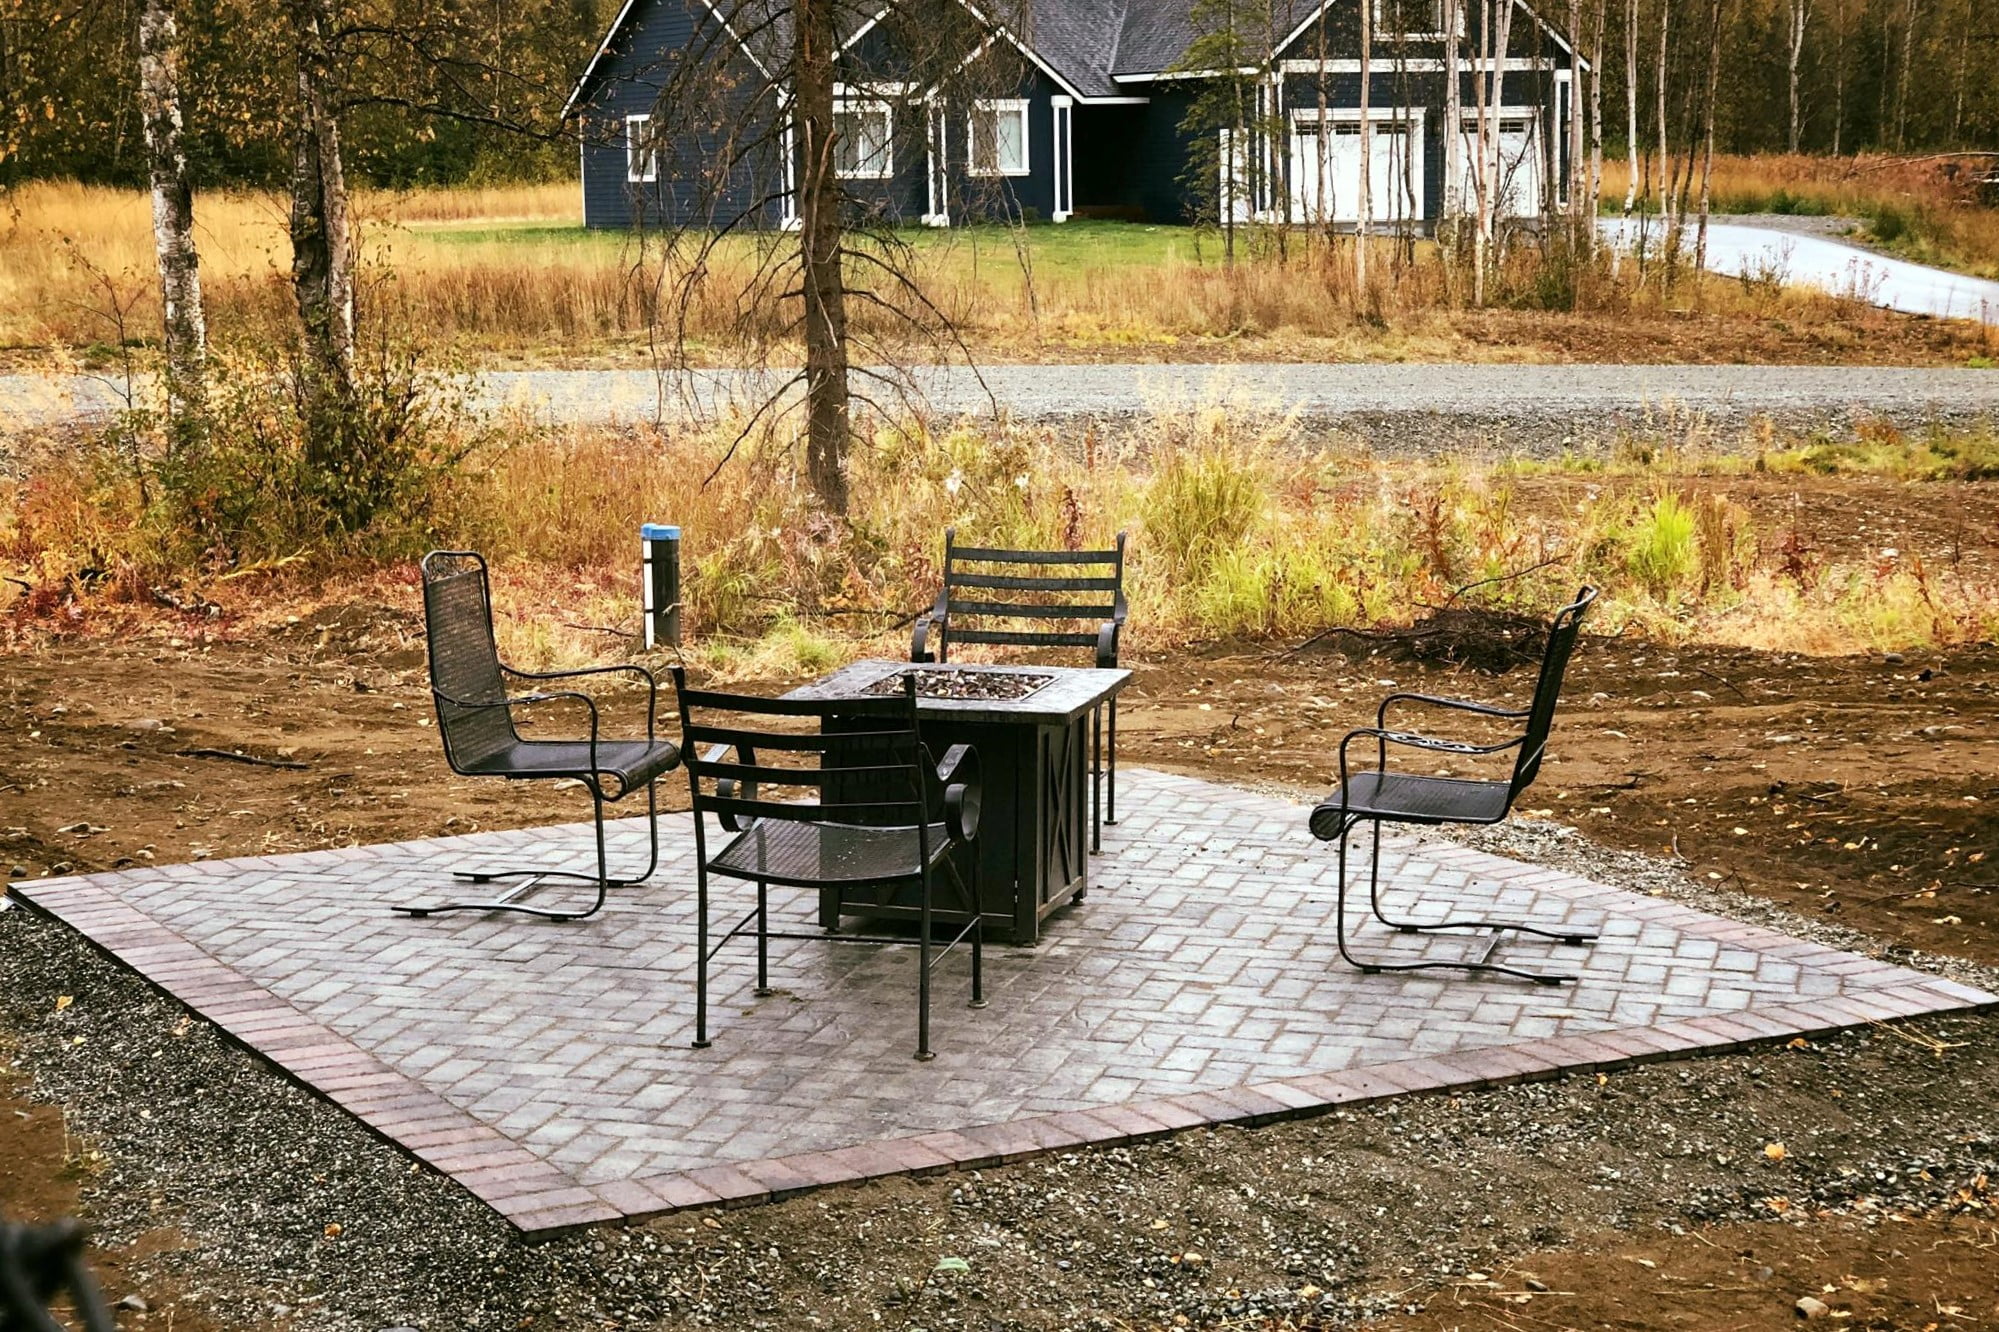
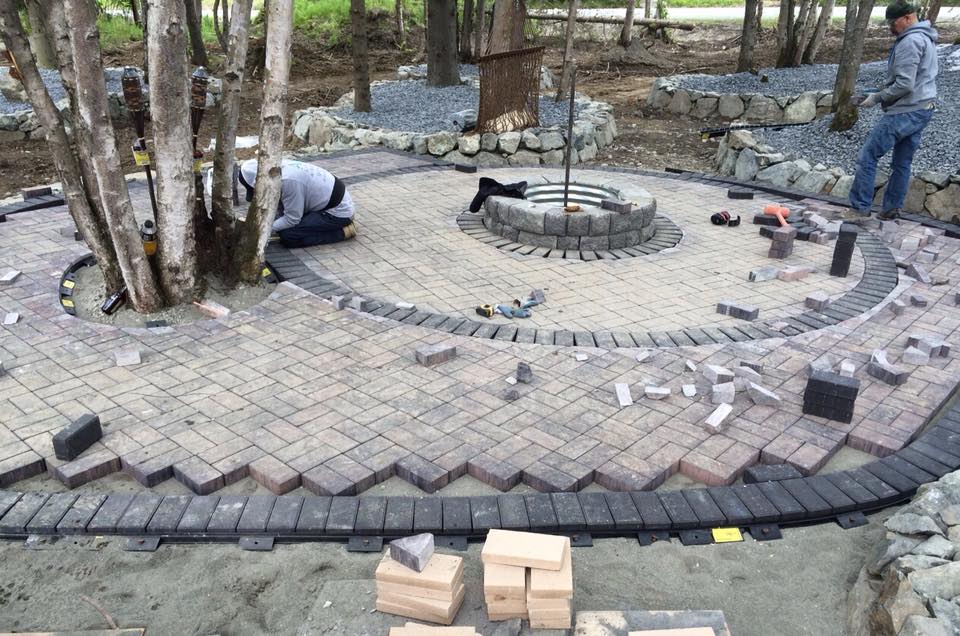
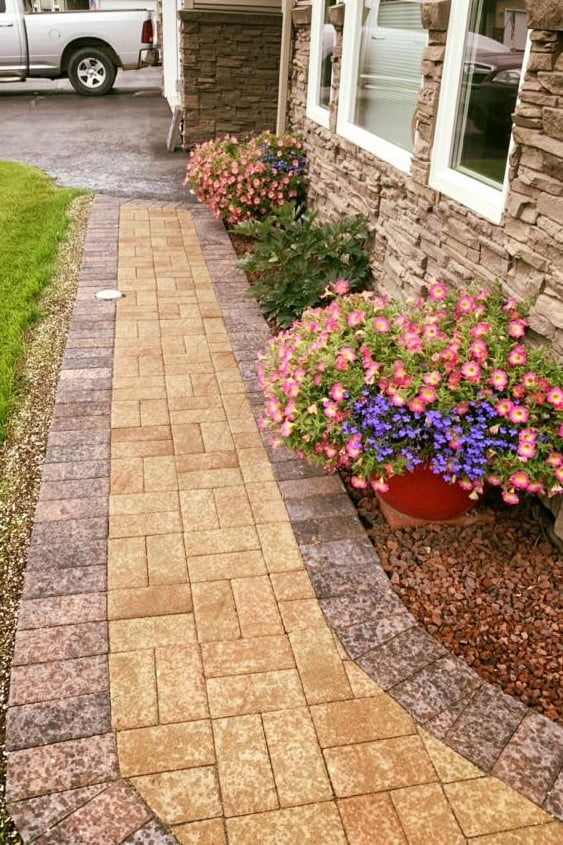
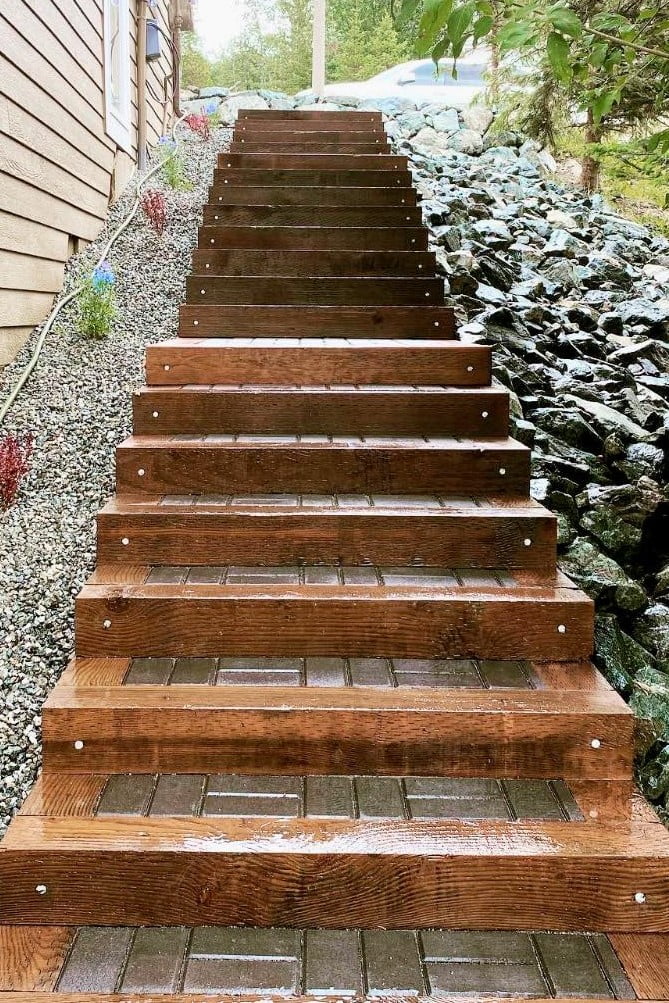
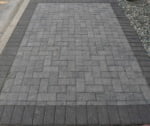
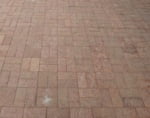
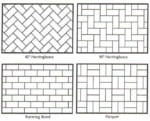
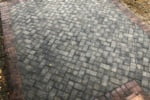
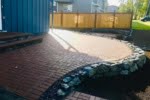
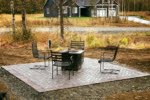
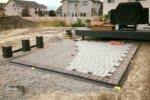
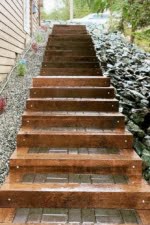
This widely used design may be used in conjunction with other shapes or simply by itself. The Holland Paver can be installed in several different patterns as well as used for borders.
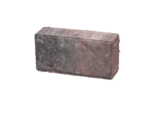
4.5 Holland Pavers cover approx. one sq ft. Pavers are available in various colors per special order.
- Size: 8″ x 4″ x 2-3/8″
- Weight: 7 lbs
- No. / Pallet: 480
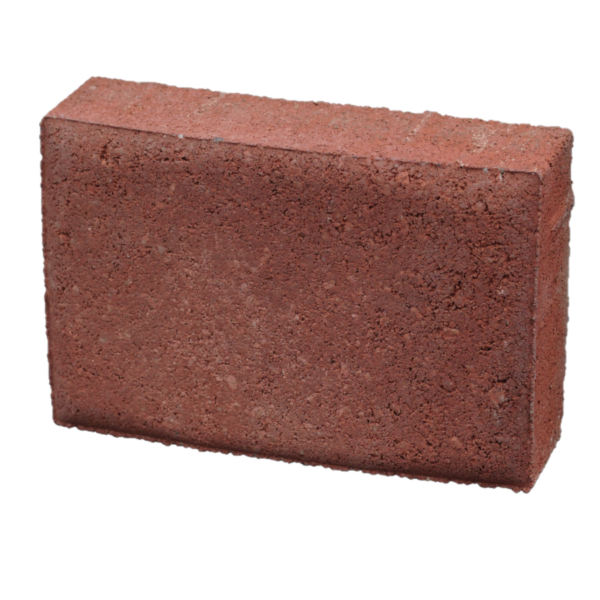
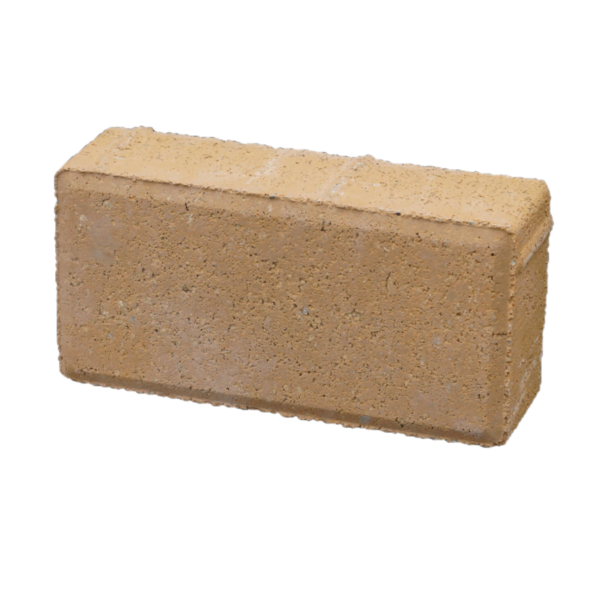
| Photo | Product Number | Color |
|---|---|---|
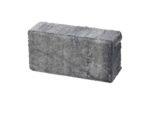 | HPTGRRB | Gray/Raven Black |
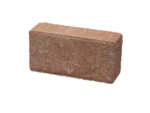 | HPTDWBR | Delta Wheat/Brown |
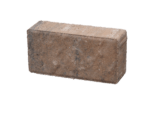 | HPTUBRB | Umber Brown/Raven Black |
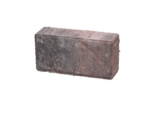 | HPTBRRB | Blush Red/ Raven Black |
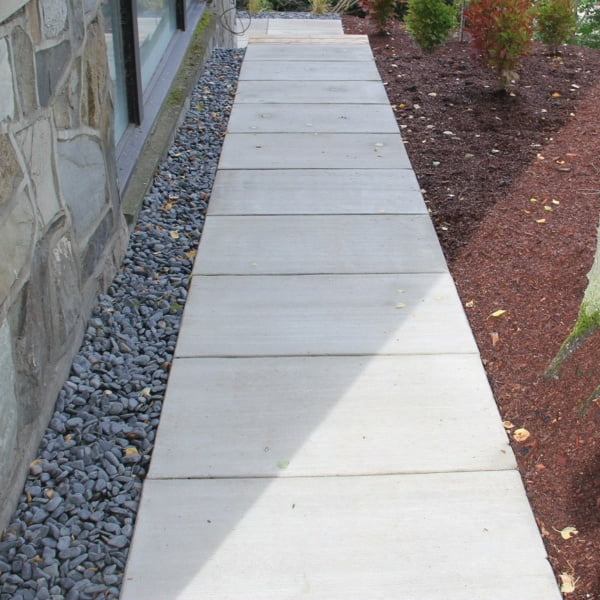
Interlocking pavers are strong and flexible. Pavers are stronger than clay brick and poured concrete. Designed to float with ground movement, it makes them ideal for freeze thaw climates. Concrete pavers come in a variety of shapes and colors to create beautiful landscape designs for your patio, driveway or walkways.
Installation Guide Paver Walkways, Driveways and Patios
1) Prepare The Base.
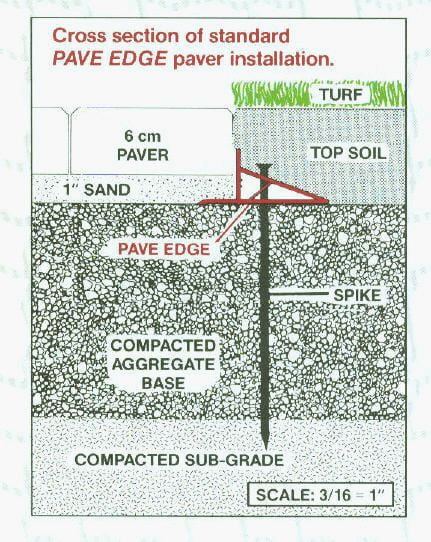
The most important part of your landscaping project is the base course. The finished product is only as good as the foundation upon which it sits. Remove any top soil, sod or loamy fill and replace with a compactable fill such as D-1. The depth will depend on existing conditions and final usage. A driveway will require a deeper base course than a simple pathway or patio. Level and compact the area well using a plate compactor available from most equipment rental locations.
2) Edging.
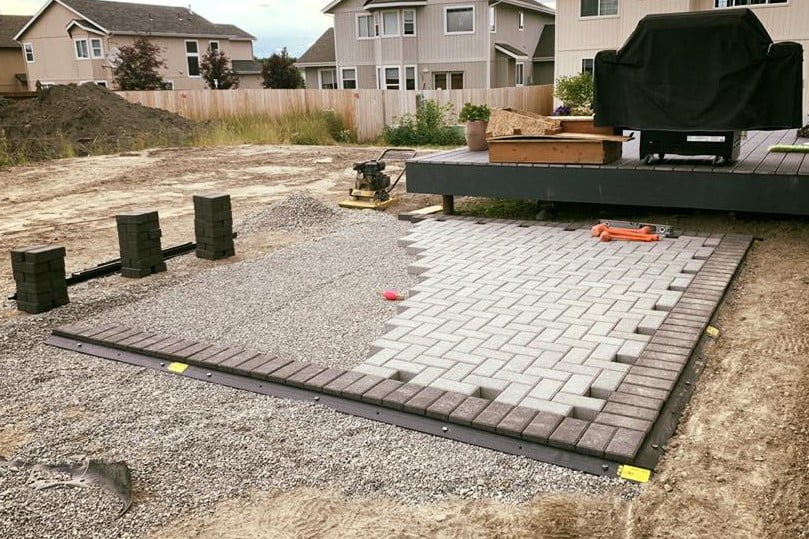
Pavers require a solid border on all sides. This can consist of existing structures or purchased materials such as the ‘PAVE EDGE’ restraint system, treated wood, or a custom poured concrete border. Secure the edging on at least two sides so that you have a fixed point to start from. Spread approximately one inch of sand across the compacted base and screed level.
3) Placing The Pavers.
Starting from one end and working forward, lay pavers out according to your design. Interlocking pavers are meant to be placed closely together with no gaps. Use a rubber mallet to gently tap pavers into place and to keep them running straight. If you have a curve or radius in your design, place pavers extending beyond edge of border and draw a cut line on the pavers while they are still in place. Pick up each piece, cut it if required and put back in place. Finish laying pavers and place edge restraint after last row of pavers. If desired, lay the last row of pavers, mark boundary, pull up last row, place edging along border and replace pavers.
4) Finishing Your Paver Project.
Once pavers have been placed and edge restraints are completed, throw clean fine sand across the surface and broom sand into joints. Brush remaining sand from the surface and discard. At this point pavers may be washed and sealed with a sealer suitable for concrete.
| Office: | (907) 348-6300 |
| Fax: | (907) 349-3967 |
WINTER HOURS as of 10/31/25: | |
| Monday - Friday: | 8:00 am - 4:00 pm |
| Saturday: | Closed |
| Sunday: | Closed |
| CODY DEDRICK | |
| Masonry, Block & Stone Sales | |
| Desk: | (907) 348-6304 |
| Mobile: | (907) 223-6567 |
| [email protected] | |
